How do you hang a skateboard on the wall with and without drilling?
Today, not everyone has the desire or the ability to make holes in the walls of his home. That’s why we have prepared a guide with all the ways to hang your skateboard, making holes or without making holes in the wall.
Hang a deck with a nail or a screw
We doesn’t hide it, the simplest and especially the most solid is of course to make a hole in its wall. However, you don’t necessarily need to take your drill and make a big hole to put a strong dowel in your wall. Indeed, as the skateboard is a light object (generally 1.2 kg), no need to do too much.
Rather nail or rather screw
The first and only rule here: use what you have! Whether you only have nails or screws on hand, don’t worry, both work just fine. From experience, after hanging hundreds of boards (like at the Supreme auction at Christie’s), we found that both worked equally well. So if you have both available, you might as well go with the one that will do the least damage to your wall: the screw. Grab your hammer and hit the nail to drive it in.
Choose a relatively short screw (about 3 cm) and drive it in a little more than halfway. This will ensure that it will hold well in the wall. We recommend that you do not drive it straight in horizontally. For strength, it is best to have the head planted slightly downward. If you don’t have a hammer, use a screw. Use a screwdriver to place the screw in the wall. Be careful to go slowly and in the same way as for the nail, that the head is planted down and that at least half is in the wall.
Using a shoelace or a fishing line
That’s it, your nail is in place. Now, what to do to hang the skateboard on it? The two cheapest solutions are: shoelace or clear wire. If you only have a shoelace on hand, go with that. If you don’t, we strongly advise you to use a transparent fishing line.
Why? Simply because in addition to the aesthetic side, it will be much more resistant. Indeed, it has already happened to us that the shoelace loosens with time and ends up making the board unhooked. On the other hand, the fishing line is stronger and once the double knot is in place, there is almost no chance that it will come loose.
You then simply tie the double knot over the screw and you’re done. The difficulty with this method is that you will have trouble positioning your board perfectly. Let me explain: the fishing line holds the board to the wall, but it doesn’t block it. Your board can therefore swing at the slightest gust of wind.
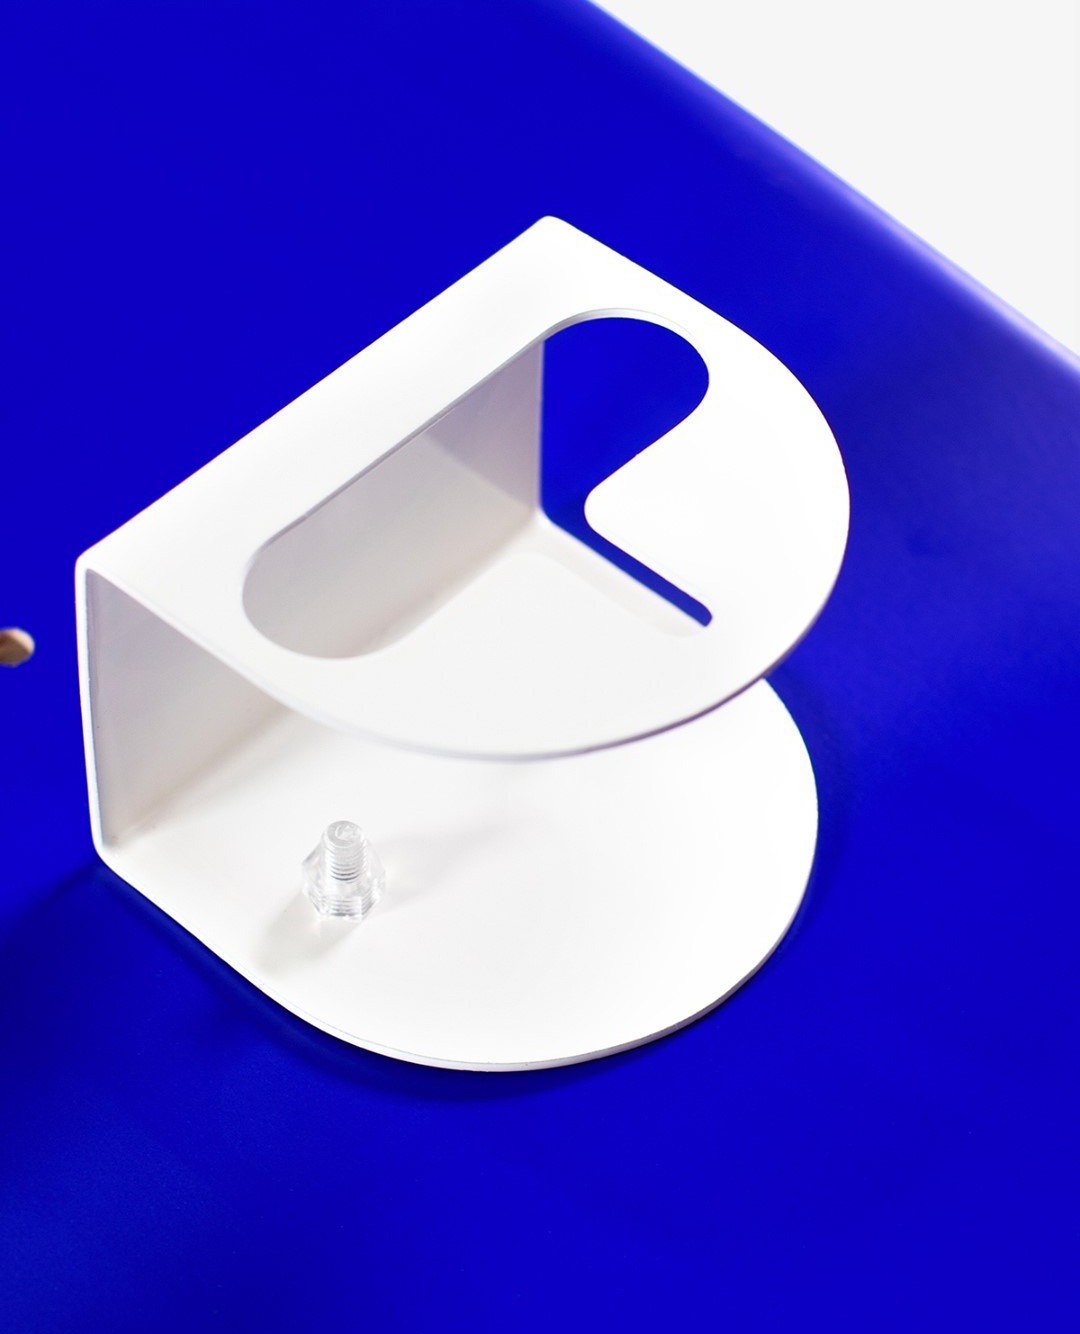
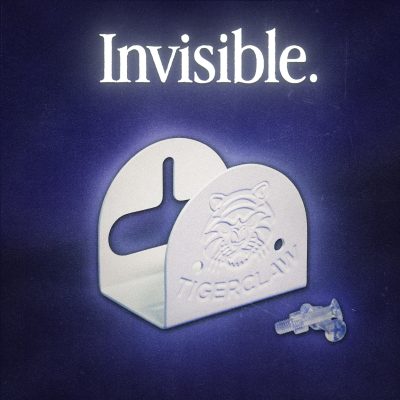
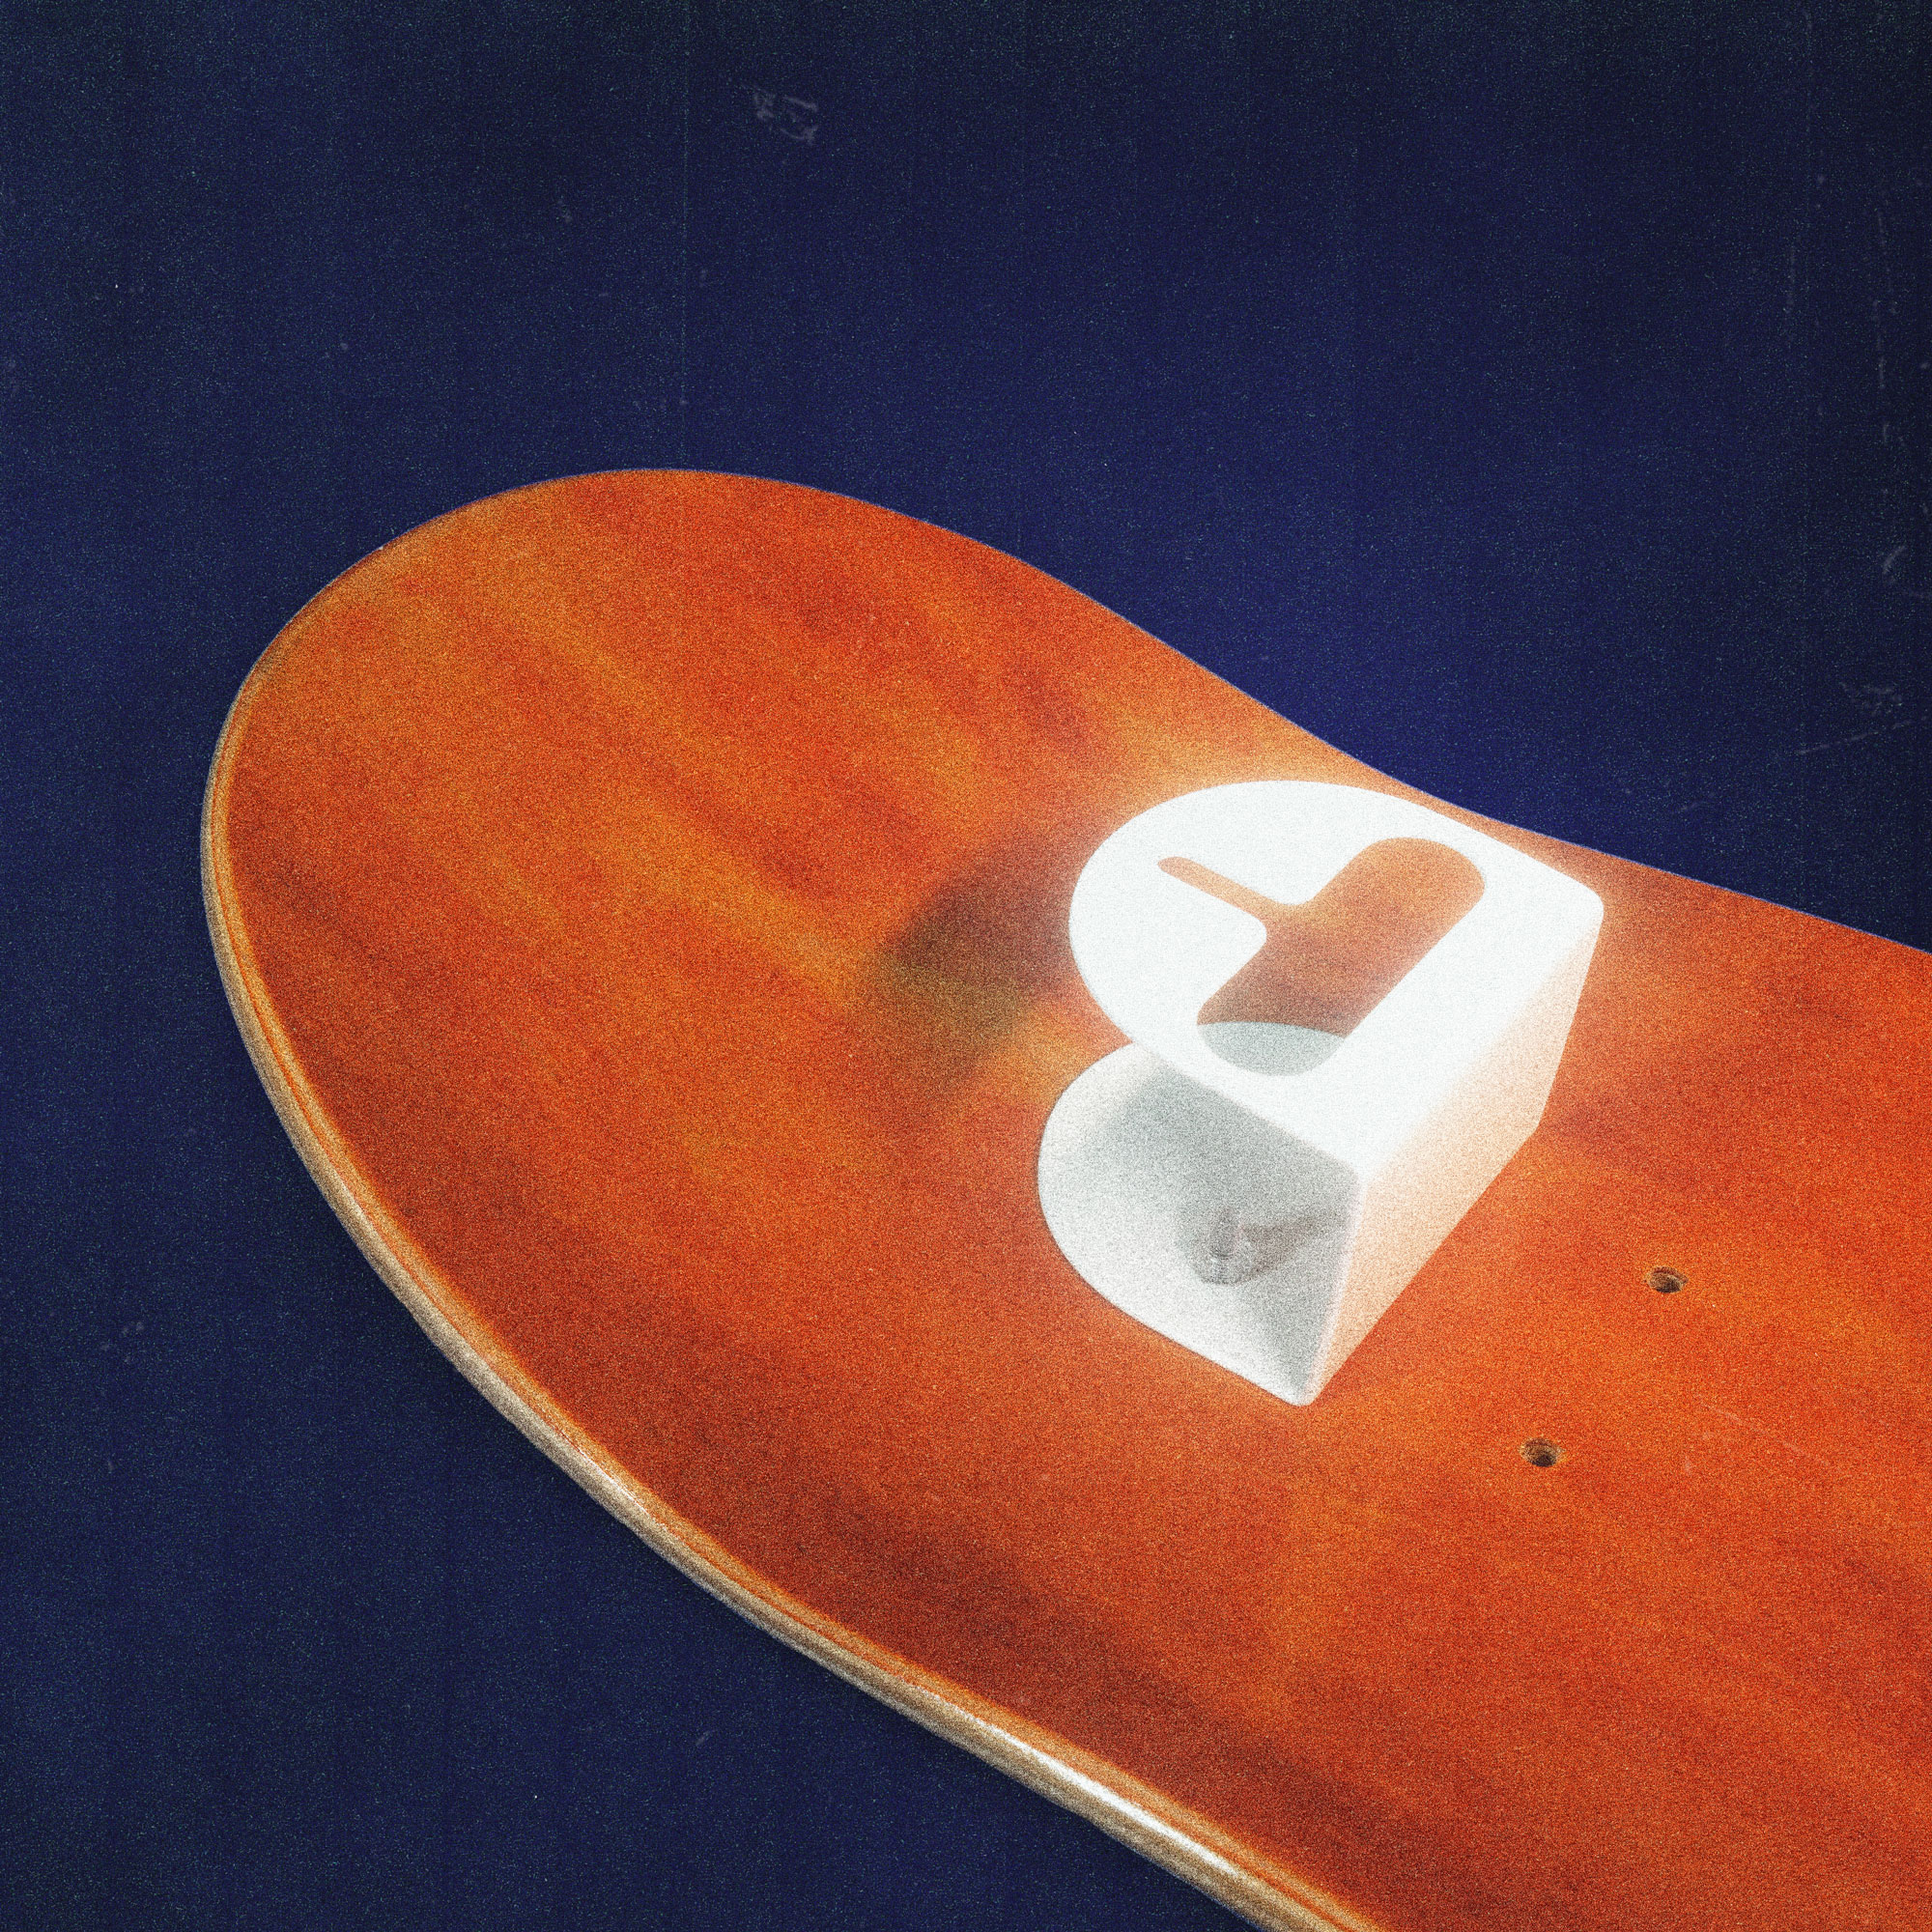
Using an DIY hanger or a Tigerclaw wall mount
Of course, this is our favorite solution, but why? For 2 main reasons! First of all, the ease. The lace or fishing line is easy to install when you have only one board to put on the wall, but to hang a triptych or another polyptych, it is more complicated. Even if you take the same size of wires and tie the knot in the same place, it is often complicated to make a perfectly straight installation.
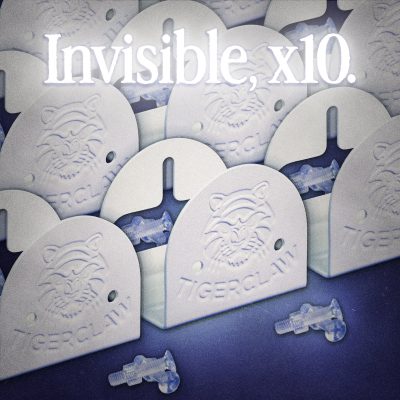
The second reason is purely aesthetic. When the wires are going to make the boards move at the first gust of wind when the door opens, the fasteners are going to keep them firmly stuck to the wall. It’s silly when you say it like that, but believe me, once you’ve replaced your boards for the third time in a day, you’ll understand. The little visual plus is also that there is no wire running across the board’s graphics. This is one of the main reasons why we wanted to create Tigerclaw Supplies. With this in mind, we looked for completely transparent screws and created a white fastener. We wanted to make it as transparent as possible.


Hang a skateboard on the wall without nail
If you live in an apartment or a rented house, you don’t necessarily want to make holes in the wall. But that doesn’t mean you shouldn’t indulge yourself by hanging your favorite boards. There aren’t 1000 solutions, so we’ll show you what you can do and how to do it right!
Using a adhesive hook
The cheapest solution is simply to buy an adhesive hook. There are all kinds and your main selection criterion is the weight. Indeed, a skateboard weighs on average 1.2kg (without trucks and wheels of course). So you have to check before buying it if it can support at least this weight. These bindings can be bought in a hardware store or online.
To install it properly, we recommend that you thoroughly clean the area of the wall where you want to attach the hook with alcohol or a smooth surface cleaner. Allow to dry completely before attaching the hook. Then place the adhesive hook in the desired location on the wall and press firmly for about 30 seconds to ensure proper adhesion. Then wait the time recommended by the manufacturer before hanging your skateboard.
Once the hook is secure, all you have to do is hang your skateboard. Use a fishing line or a shoelace and you’re done. By following these simple steps, you can hang your skateboard on the wall safely and without having to drill holes in your wall.
Using adhesive strips
If you can’t find hooks with sufficient weight capacity or prefer to do otherwise, we recommend adhesive hanging strips. These have two major advantages.
First of all, they have a strength that can sometimes go up to 7kg. That’s really big for our skateboard and ensures that if it’s properly attached, there’s no chance of the board falling off one day in the night. Then, contrary to a classic double sided board, they ensure you don’t damage your wall when you want to remove it. Indeed, as there is a scratch on the wall side and a scratch on the fastening side, you just have to remove the board, then, delicately pull the scratch to unhook it from the wall.
No fishing line here, you’ll have to use either a DIY bracket or our Claw deck display. It’s particularly well suited for this as the back of our bracket is flat with only one hole. The double sided tape will adhere perfectly to the clamp. One scratch may be enough, but if you really want to make sure you don’t have any problems, we advise you to use two.
Installation is very simple. Clean the area of the wall where you want to attach the strips with alcohol or a smooth surface cleaner. Allow to dry before attaching the strips. Place the hanging strips where you want them on the wall and press firmly for about 30 seconds to ensure they stick. Do the same on the hanger. Once the strips are attached to each part, all you have to do is snap them together.


